Dog Training Videos
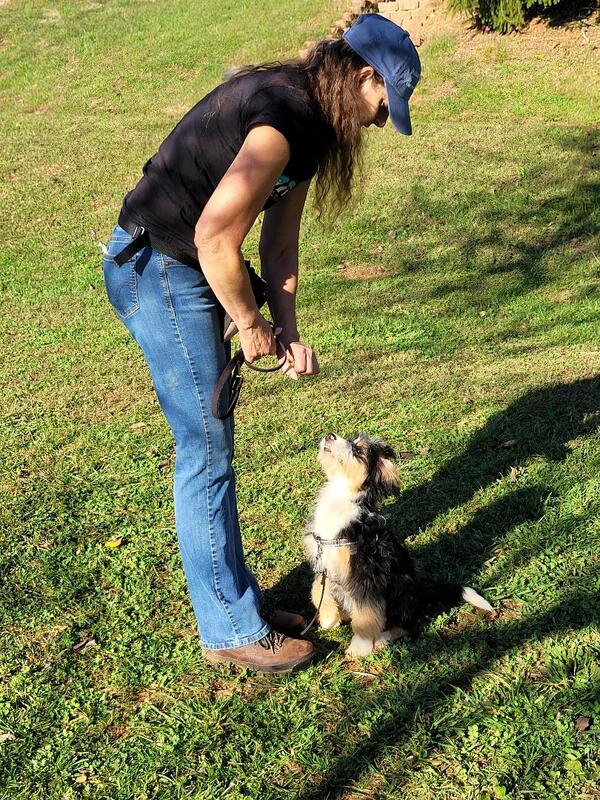
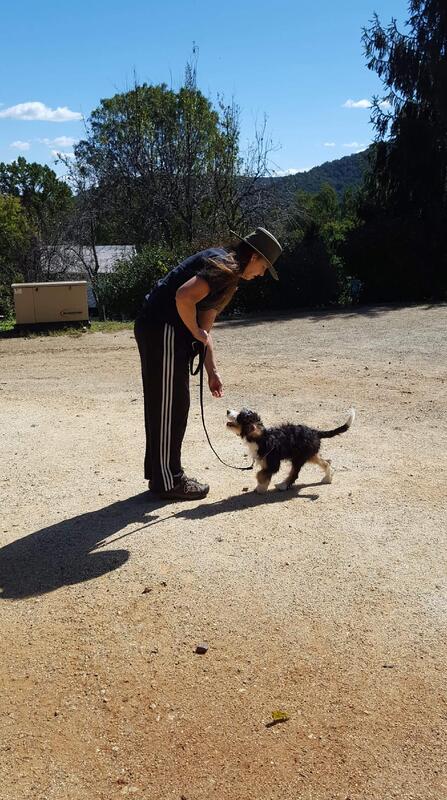
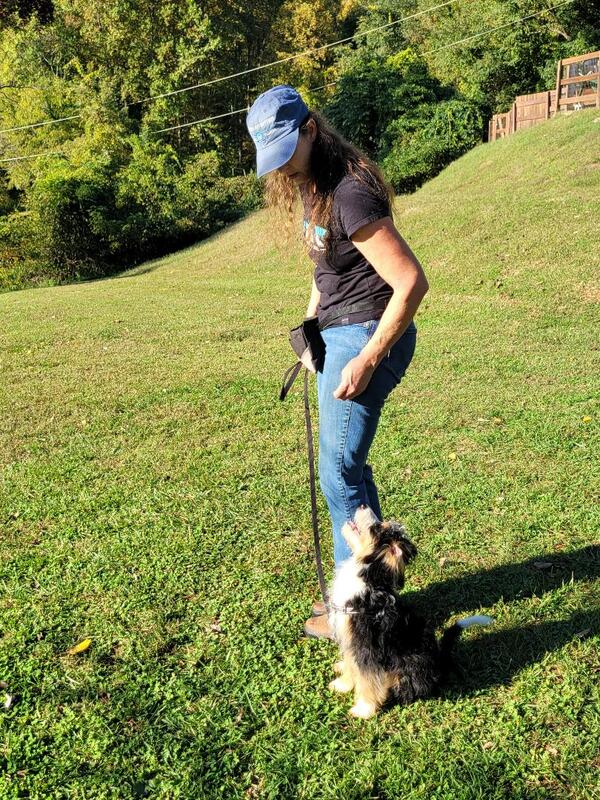
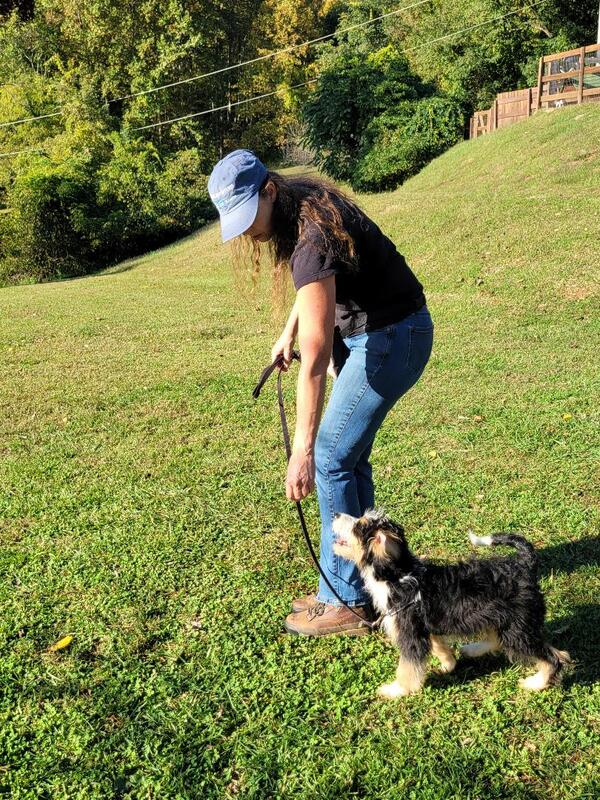
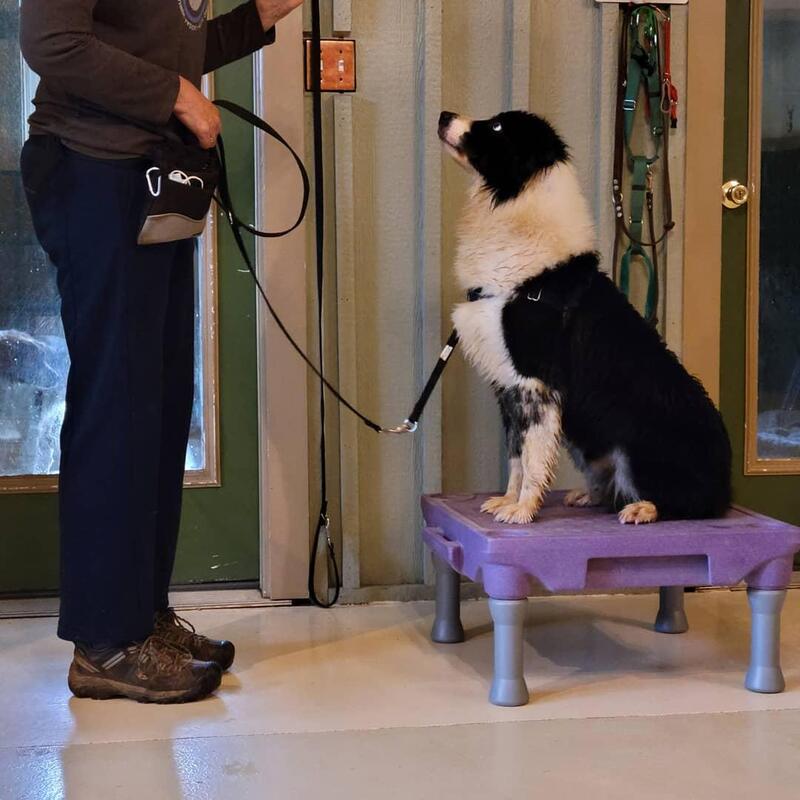
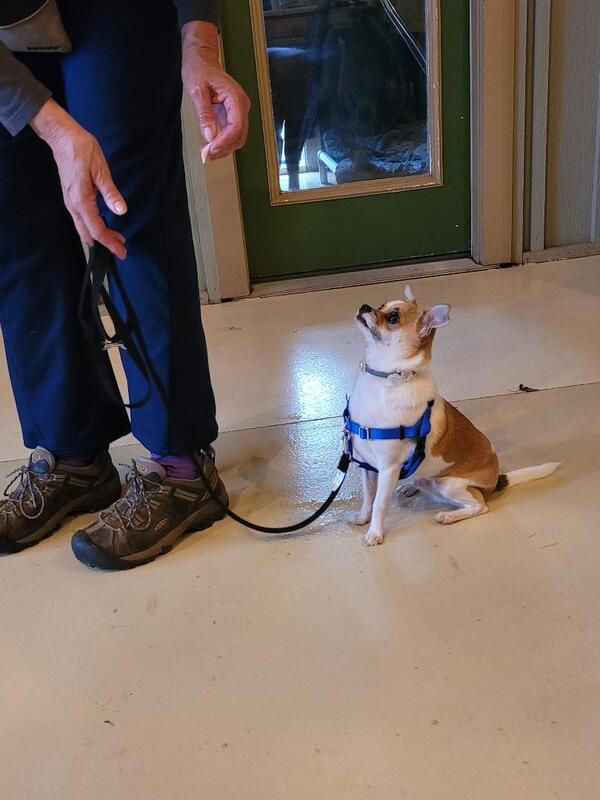
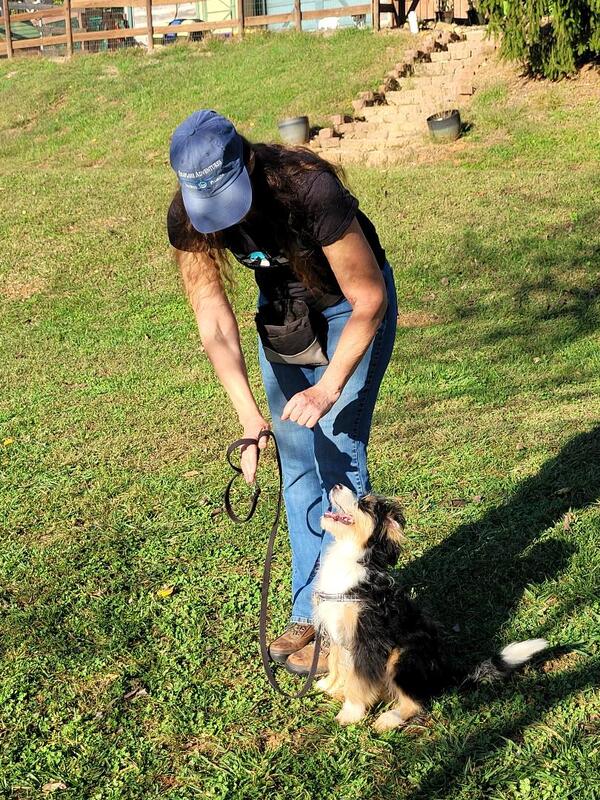
These videos will show you how to train your dog using Miriam Fields-Babineau's training methods of positive reinforcement. Using these methods will enable you to easily communicate with your dog and quickly achieve some basic skills. Every pet parent wants their beloved pets to respond to their cues, regardless of where they are and what is going on around them. Working with your dog every day, using these methods will achieve your goals.
Be sure you have a clear understanding of each exercise prior to attempting the procedures with your dog. Clear communication will be your key to success.
We also suggest you purchase Miriam's Dog Training System so that you have all the training equipment you need to achieve success.
Be sure you have a clear understanding of each exercise prior to attempting the procedures with your dog. Clear communication will be your key to success.
We also suggest you purchase Miriam's Dog Training System so that you have all the training equipment you need to achieve success.
Training Tools
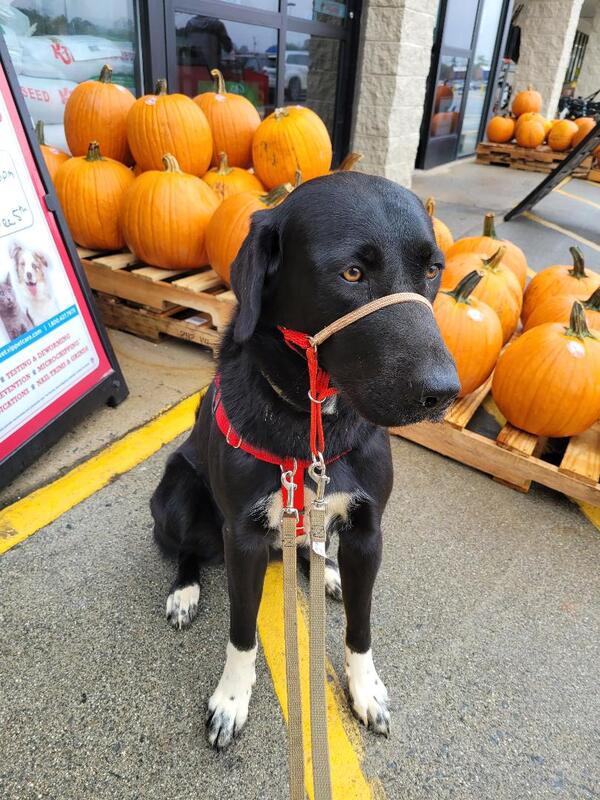
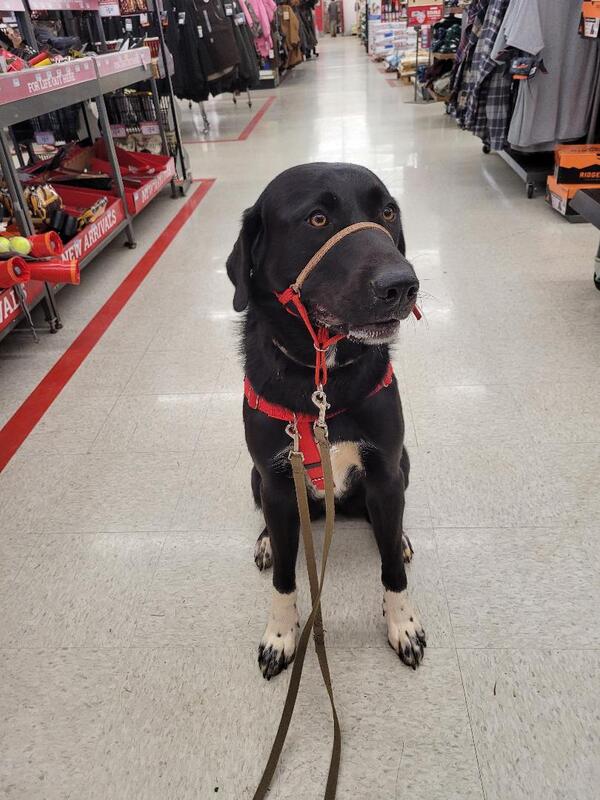
Before you begin training, you must put together the proper training tools. Miriam Fields-Babineau has done this for you with her Dog Training System. This kit has a training lead, Freedom Harness, Comfort Trainer (for reactive dogs), bait pouch, and training book, Click and Easy: Clicker Training for Dogs. You can choose from a wide variety of colors and sizes, for a custom kit.
How to Apply the Training Tools
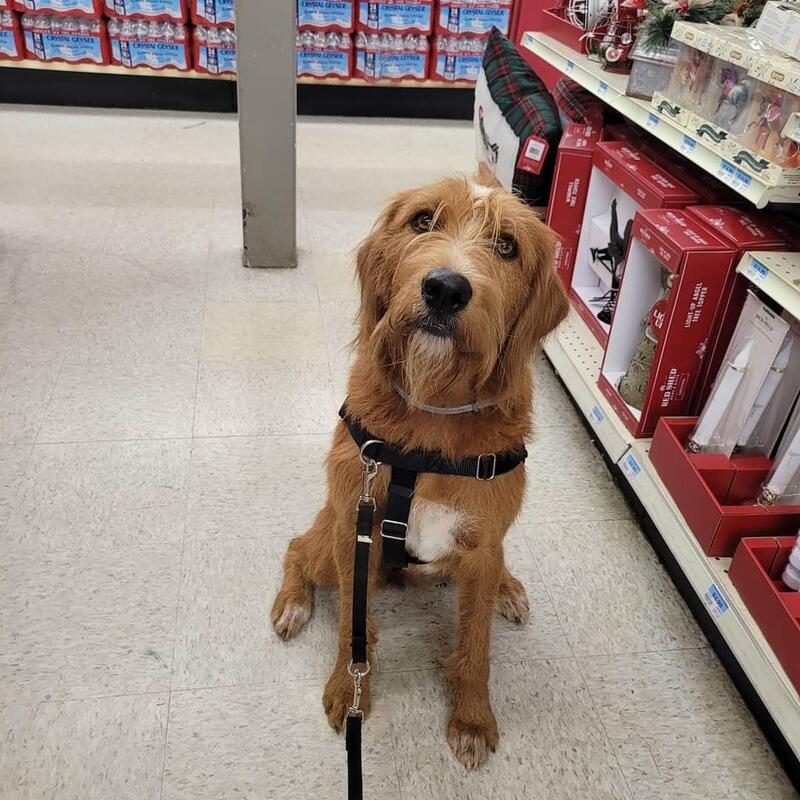
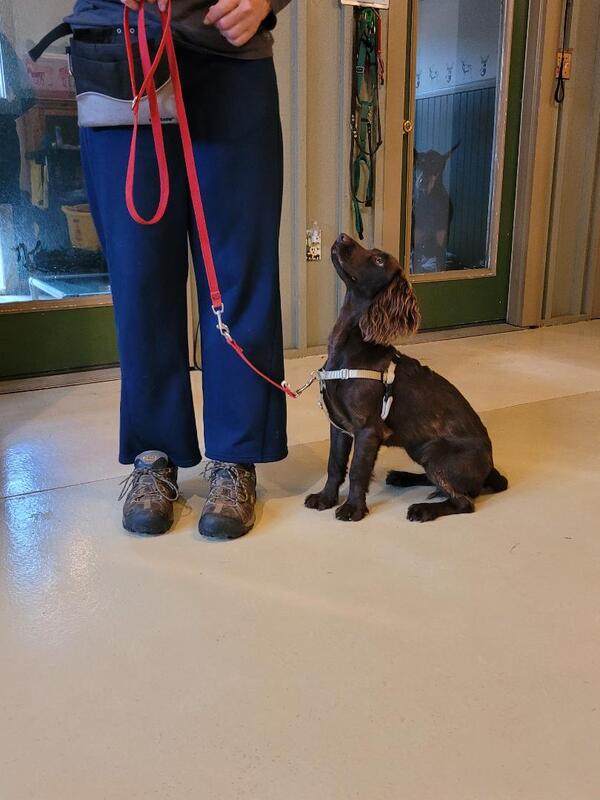
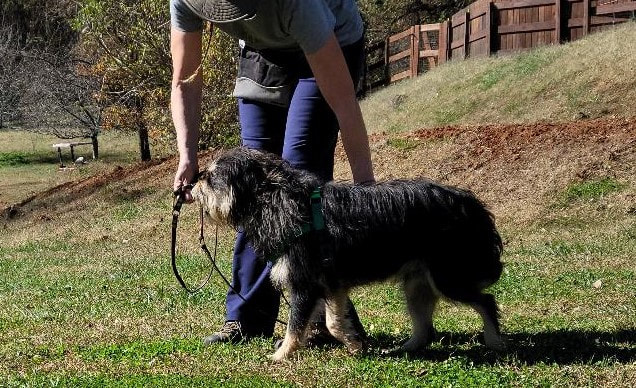
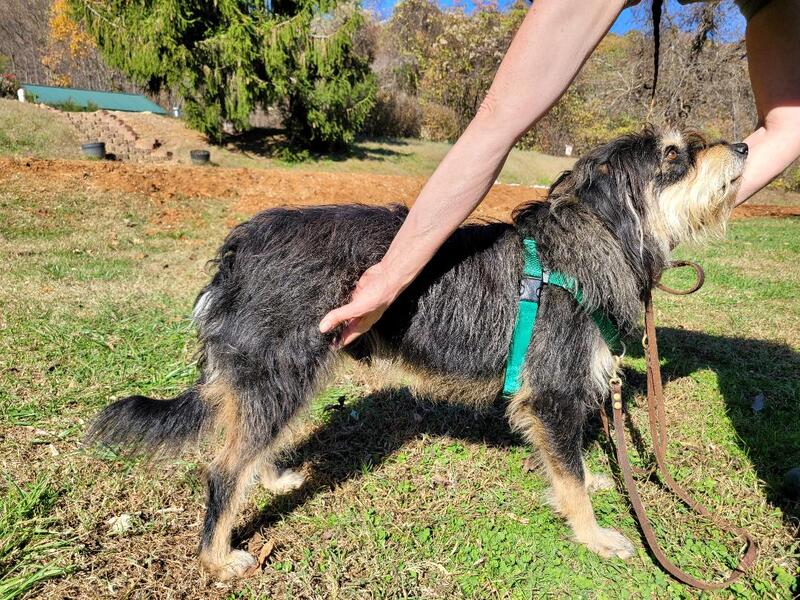
If using only the Freedom Harness, be sure to attach the leash on the front D-ring. This will aid in guiding your dog as you turn to redirect his attention.
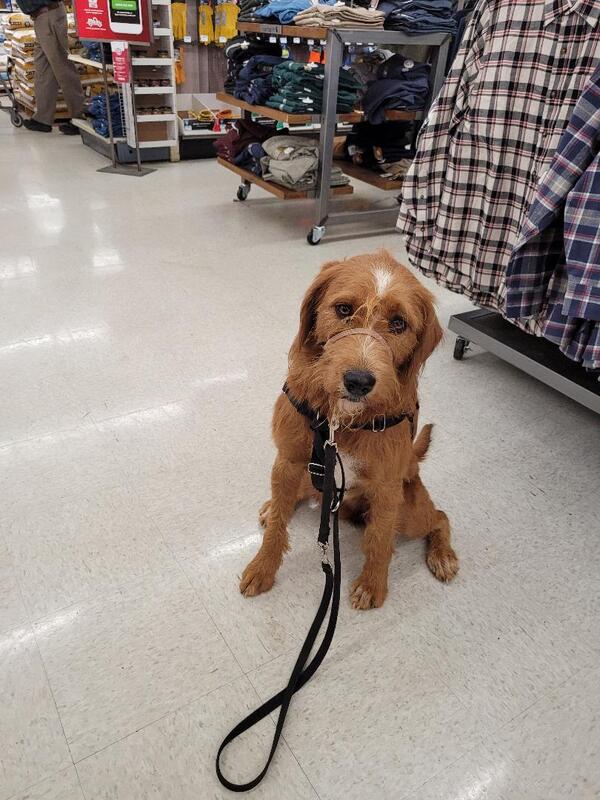
If you are using both the Comfort Trainer and Freedom Harness, attach one end of your Double Clip Lead to the front of the Freedom Harness and the other end to the O-ring on the Comfort Trainer strap under your dog's chin.
Training Begins!
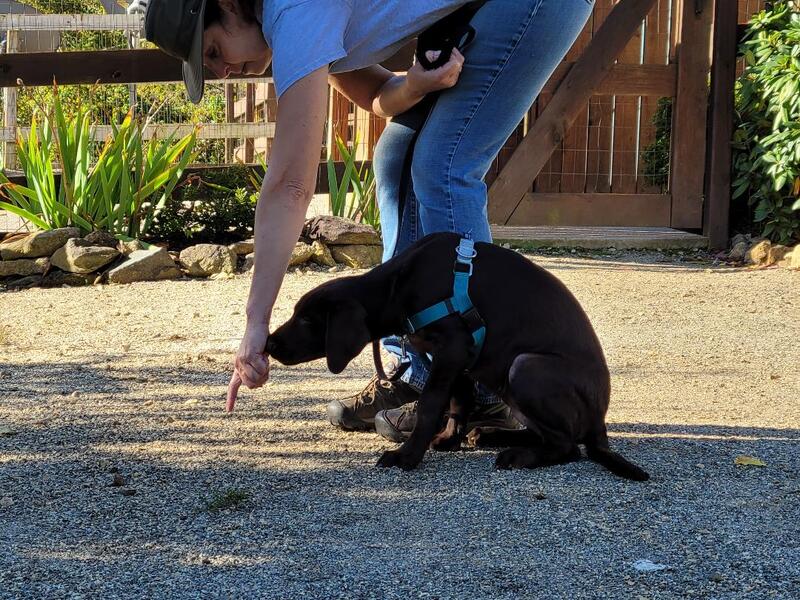
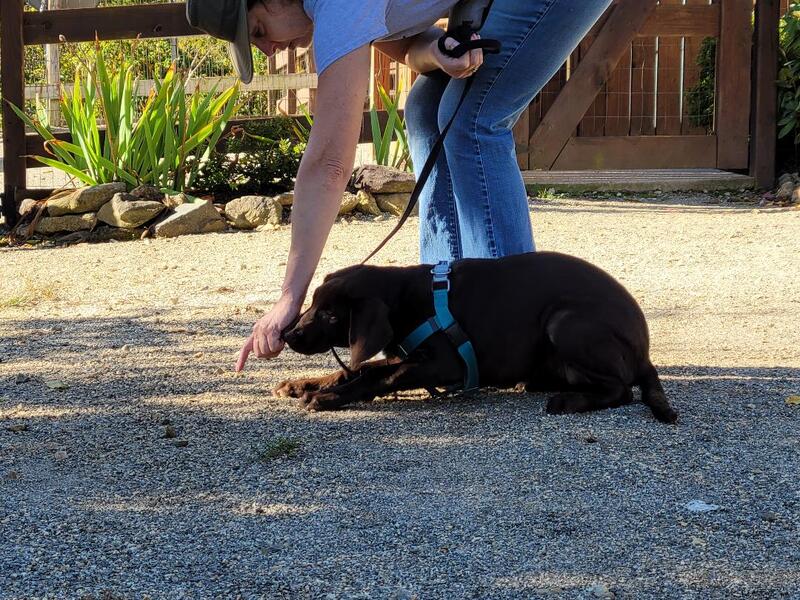
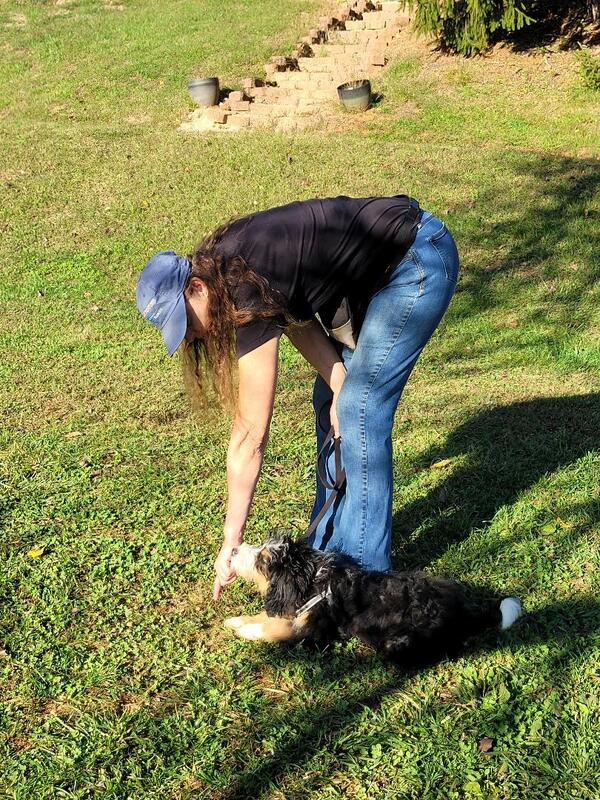
Begin with teaching the meaning of targeting and pairing an appropriate response with a unique sound (such as a click), followed by the food reward. This skill will guide your dog through the entire learning process, so it's important to achieve this before moving forward.
The Come and Sit
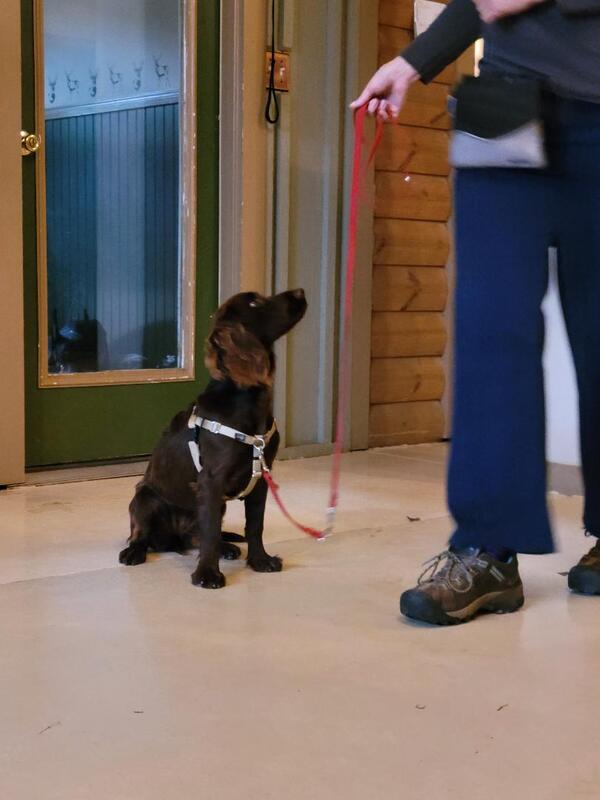
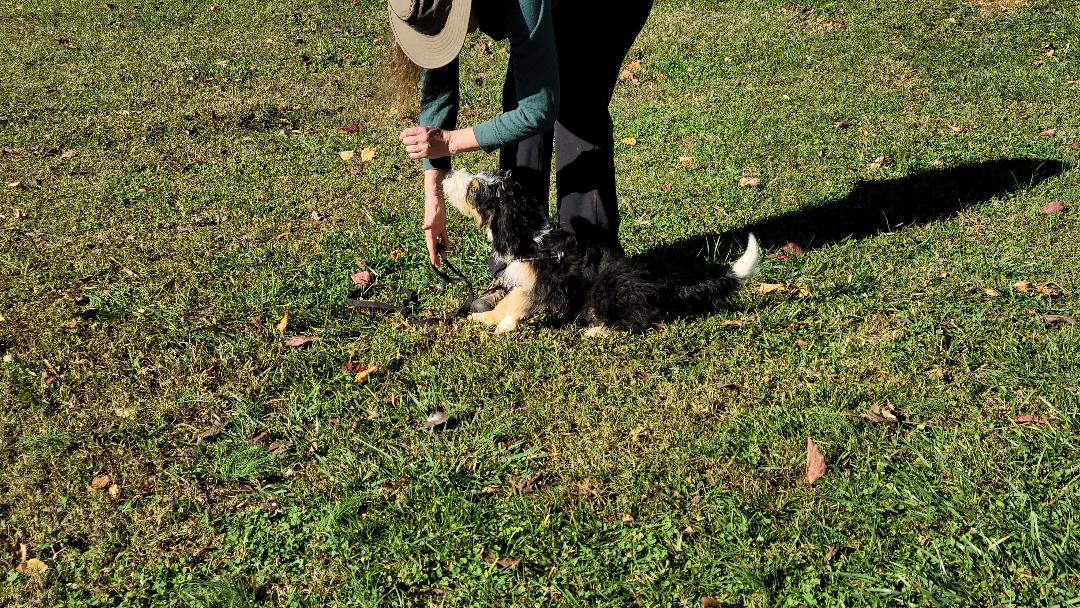
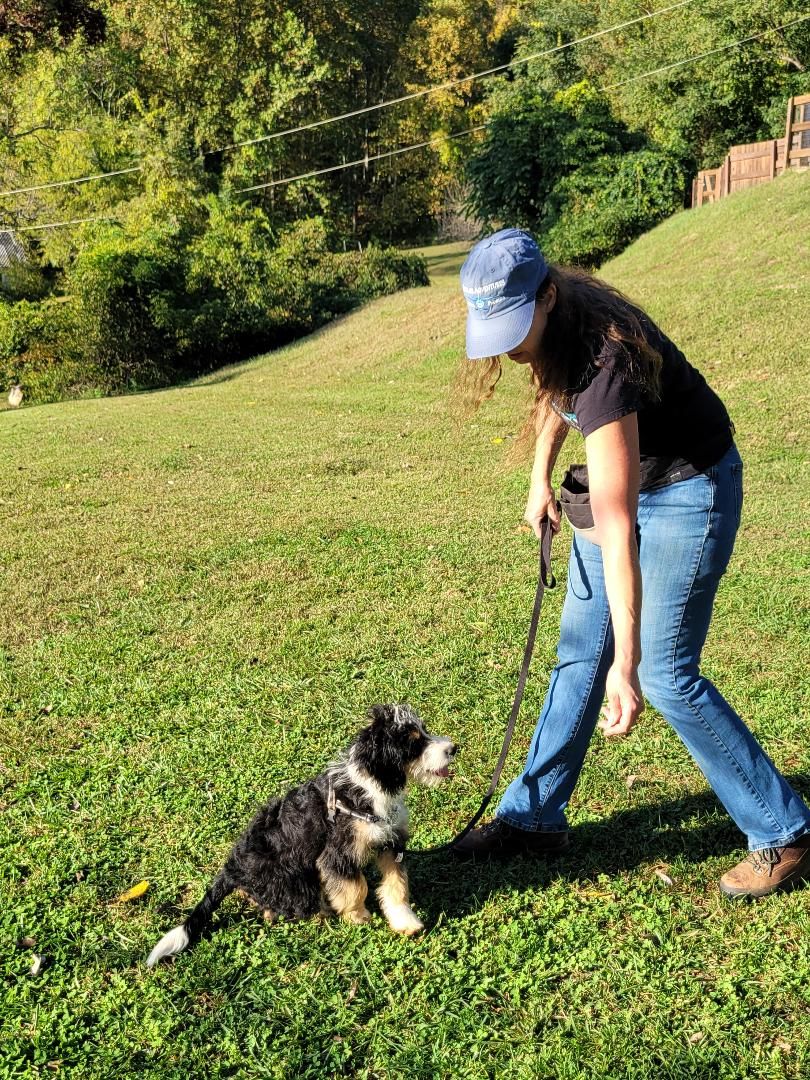
Once your dog understands the concept of targeting, you can begin adding some training cues. The easiest ones are Come and Sit. Your dog will initially just be following the target, but through repetition, he will actually learn your verbal and visual cues for the command. It won't take long for your dog to understand the meaning. When you begin training anything new, you'll want to offer many rewards. This means each time he does something you want, you click and reward. The more you do this, the faster he learns. There will be time later to reduce the amounts of rewards, as your dog works harder for them.
The Heel and Sit
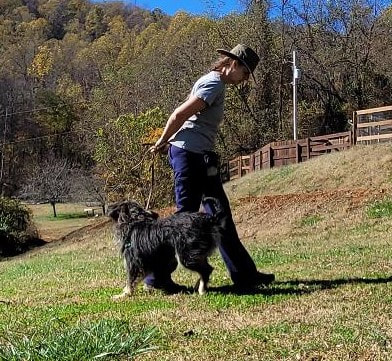
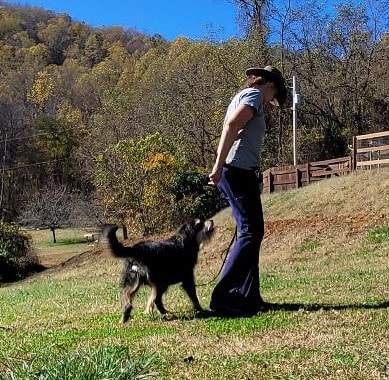
When your dog has a good understanding of the Come and Sit, this next step of teaching your dog to Heel, will fall into place very easily. You'll be using the same targeting concepts, just moving your body differently. Again, your dog will follow the target, but through repetition will learn the meaning of the verbal command, Heel.
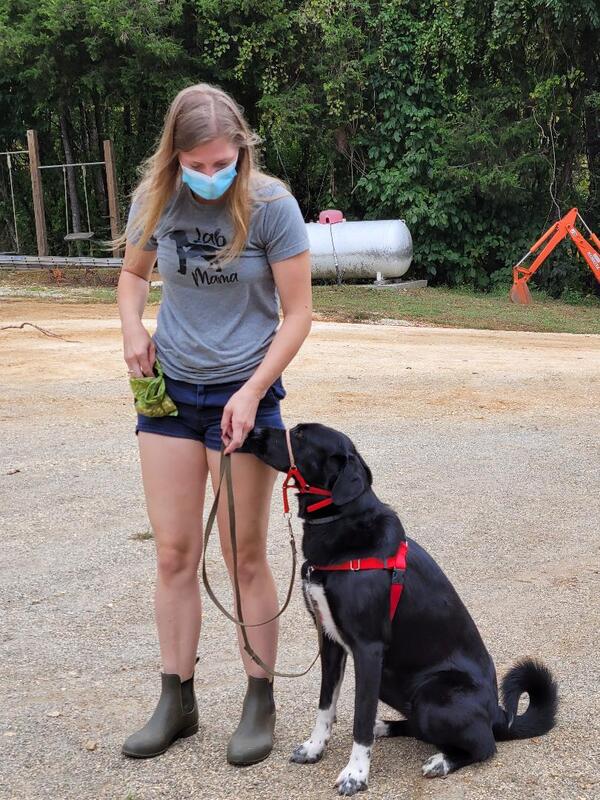
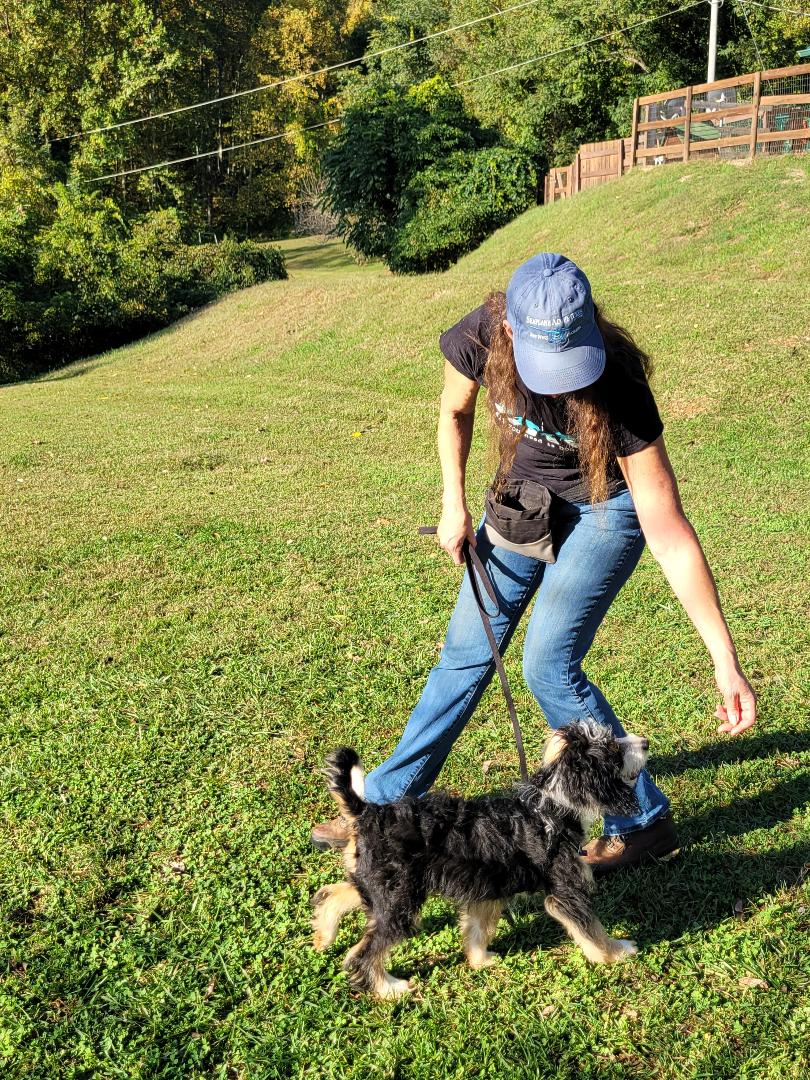
Begin by targeting your dog on your left, as even with your left leg as possible. Click and reward each rendition 3 times. Next, step forward, holding that target near enough to your dog's eye level as you can, while moving forward just 3-5 steps. Stop and cue to sit. The moment he sits, click and reward. At this point, you've already started making your dog work harder for his treats. He must complete 3 actions prior to his click. Target. Move with you. And, Sit.
As your dog learns that remaining next to your leg yields rewards, add more and more steps with each successful rendition of the heel and sit. For example, he performs beautifully when you go 10 steps and stop. Next time go 15 steps and stop. When he is walking with you nicely for about 20 steps, begin to incorporate turns both right and left. As you turn, be sure to closely target, so that he follows you through the turn.
If you are using both the Comfort Trainer and Freedom Harness, this video will help you understand how to use both tools. Essentially, you need to apply pressure on your dog's nose when you turn. To do this, you'll need to gently pull downward as you turn. Once out of the turn, return to using a very loose lead. In fact, your leash should ALWAYS be loose. This teaches your dog to respond to your visual and verbal cues; never having to rely upon the leash for communication.
The Sit Stay
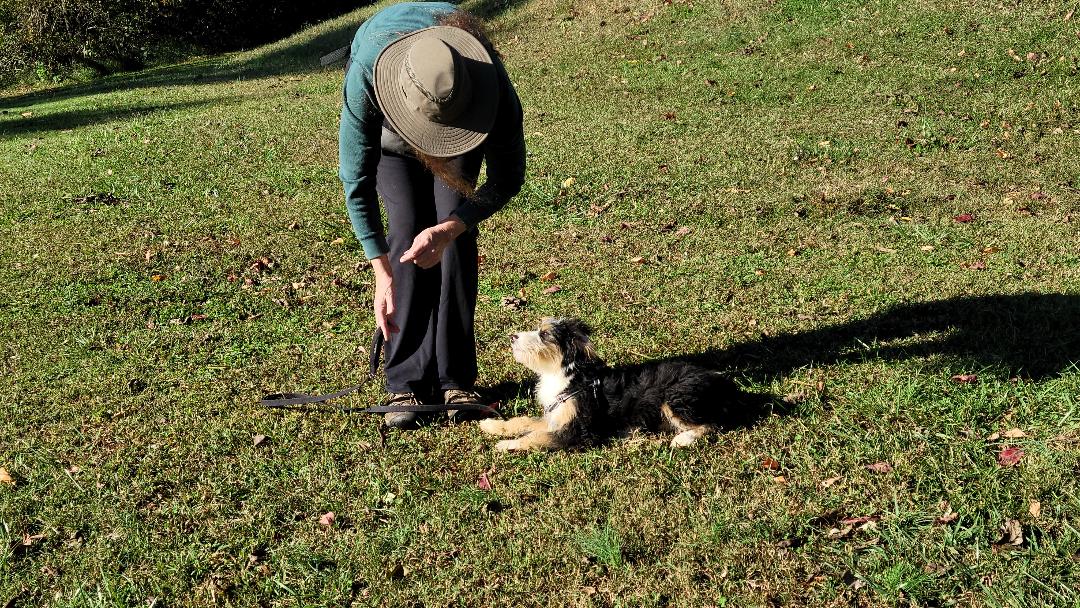
With your dog now understanding targeting and moving toward you and with you, it is time to initiate the concept of Sit Stay. Stay is often quite challenging for dogs under 5 months of age, but easy for adult dogs to learn. The key will be to facilitate the behavior via targeting and good timing.
The stay is easily broken down into 4 steps:
Step 1 - Patience
Step 2 - Time
Step 3 - Movement
Step 4 - Distance
If you follow these steps, moving forward to the next only when your dog is super reliable, he will learn a very solid stay behavior. Furthermore, this knowledge will quickly extend to holding stays in other positions, such as the Down and Stand. It can even be used with tricks and performance in myriad venues, such as Agility, Therapy Dog Work, Rally Obedience, and much more.
The most important aspect of a solid stay is for your dog's safety. A dog who stays at doors and gates, instead of pushing through them, will live a longer life.
Take your time, and be sure your dog has a solid understanding of the Sit Stay.
Step 1 - Patience
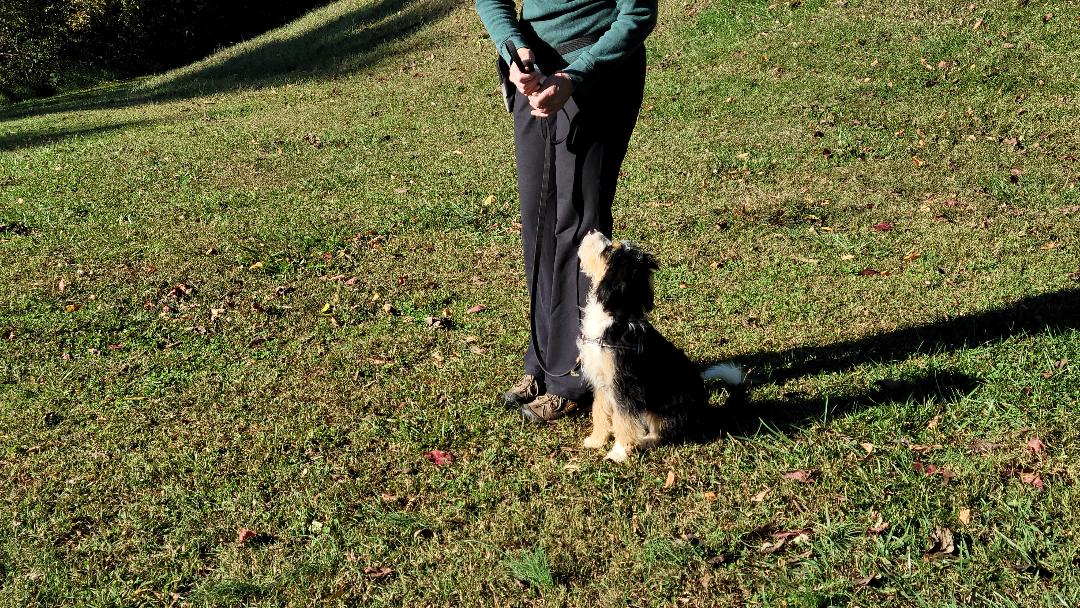
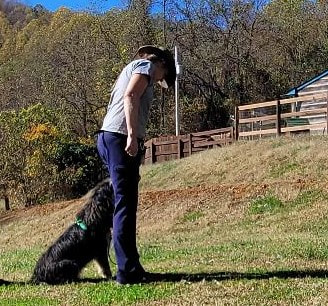
Begin with working your pup on come and sit and the heel and sit. These are exercises that are now well understood, and easily accomplished. Next, instead of immediately marking the sit, or come, make your dog hold his sitting position for a few seconds as you praise. After 3 seconds, click and reward. Gradually increase this "hold" time as your dog learns to remain in place in order to receive the reward marker (click). When your pup can hold this after a Come and Sit, or Heel and Sit, for upwards of 7 seconds, move on to the next step.
Step 2 - Time
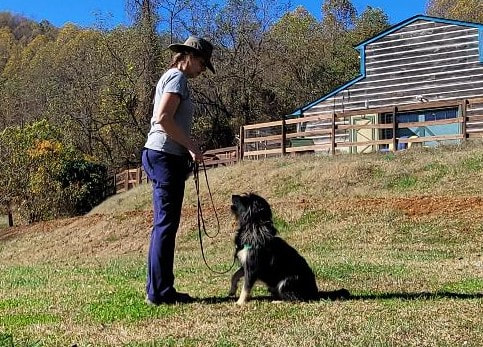
Once your dog understands to hesitate for a few seconds, it's time to add the Stay cue. I suggest showing your dog the palm of your right hand, as you continually target with your left. Through repetition, your dog will learn the visual and verbal cues as she is praised and rewarded for remaining in place. As with the previous step, work on building time. Begin with a 5 second stay, and as your dog settles into position (i.e. isn't jumping around, or otherwise moving), add a few seconds to each rendition of the Sit Stay exercise.
Step 3 - Motion
Begin your motion in small segments. A pivot in front of your dog as you cue to Stay. When your dog is comfortable with your pivot in front, and then back to heel position, begin to move along her sides, and eventually all the way around. Your dog will let you know when she's ready for more motion, as she will remain still long enough to complete the set criteria. If she keeps getting up, it means you've breached her ability to perform the behavior and should backtrack to where she was performing it reliably. Work at that level for the time being. She needs to be comfortable and consistent before you push forward with more movement.
If you are using a Comfort Trainer on your dog, the video below explains how to teach him to Stay, using the head halter and Freedom Harness. The methods are very similar to above, but will give you a bit more control over your dog's focus.
Step 4 - Gaining Distance in a Sit Stay
When your dog is able to handle a sit/stay with you moving completely around her, you can begin to add distance to your overall criteria. Be sure to adjust your movement to with your dog's comfort level. For example, if she's a bit insecure, remain closer for a while. Once she is reliable at about 2 feet of distance, move out to 3 feet in a subsequent sit/stay exercise. You'll know your dog is insecure if she pops up as you move around. Regress to progress.
The Down
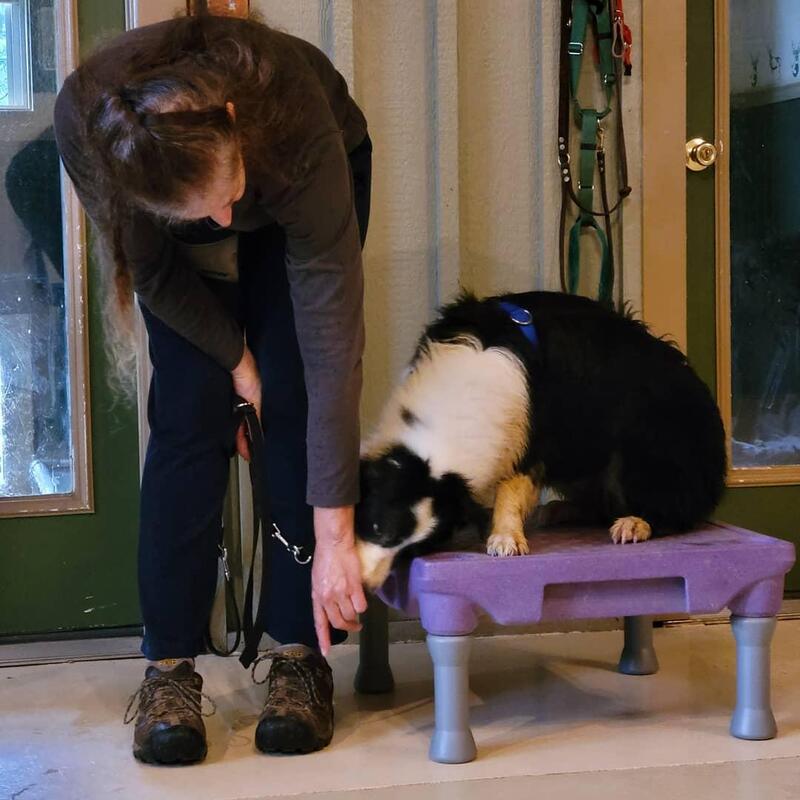
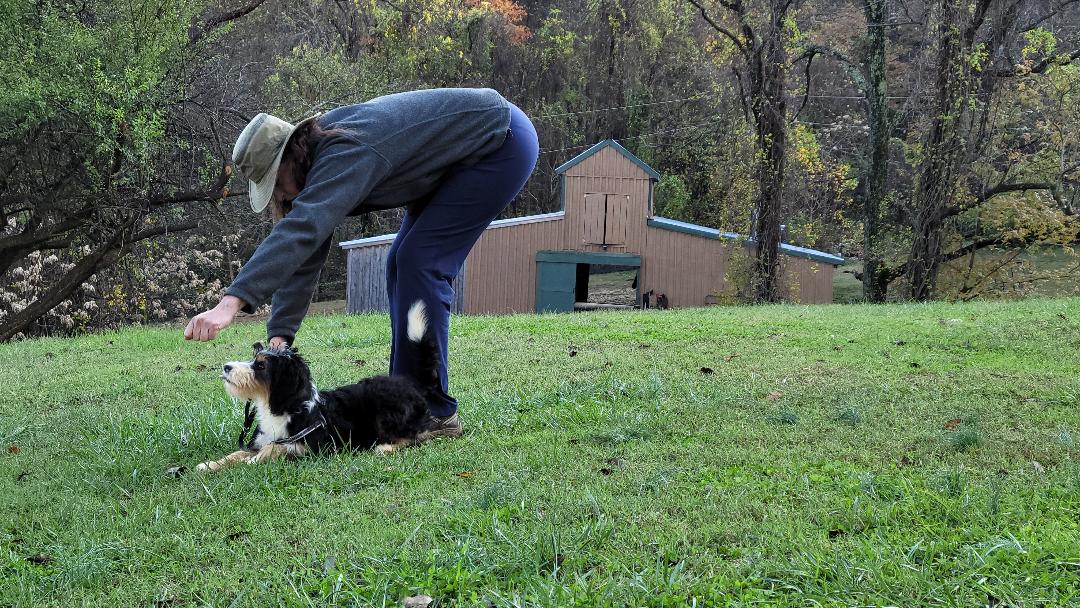
Teaching the Down behavior can sometimes be more challenging for many dogs than the Sit. But, done using targeting, patience and appropriate timing of the reward marker, it is easily accomplished. Some dogs will quickly follow the target into the down position. Others will require you to break down the behavior into smaller parts, gradually bringing them together for the full goal.
Be sure to begin teaching this behavior in an environment clear of distractions. You will need absolute focus from your dog.
Begin by targeting your dog to bring his head low than his shoulders.
Be sure to begin teaching this behavior in an environment clear of distractions. You will need absolute focus from your dog.
Begin by targeting your dog to bring his head low than his shoulders.
The Down Stay
When your pup understands the meaning of the Down cue, make her hold the position a little longer with each repetition. When she's reliably holding the position for upwards of 5 seconds, add the Stay cue which should be something she can see, such as the palm of your hand in front of her face. Never swing your hand toward the dog; merely show it to her. Gradually increase the amount of time she remains in the down prior to marking with a click and rewarding her.
When your pup is able to hold the down position without direct targeting, gradually stand up straighter with each repetition of the down/stay exercise. Once she's reliable with your standing up straight, you can begin some movement around her. Start with moving along her side.
Utilize the same step by step procedures used for sit/stay, in order to achieve success with your down/stay. Rushing ahead of where your dog is currently comfortable will result in failure. Take your time, gauge your dog's comfort level and move on from there in small steps.
Once your pup is able to hold the down stay with some movement around her, begin gaining distance. Do so gradually as your dog is able to remain reliable. Eventually, you should be able to move totally around her. Then, it's time to add distance.
Dropping the Lead During Down Stay
When you are able to move completely around your dog as she remains in a down/stay, it will be time to begin increasing your distance. You can do this either by dropping your lead (if your dog is super reliable with distractions), or utilize a longer lead in order to maintain your dog's safety should she break from position for any reason. If you are training near a busy road, please use the longer lead.
The Recall From a Stay
Now that you've accomplished all of the basic obedience behaviors of heel, sit/stay, down/stay, and come, it's time to bring it all together by working on the come from the stays. Your dog is actually already familiar with this, as it was one of the first exercises you worked on - the Come and Sit. Cueing the Come from a Stay is merely an extension of the Come and Sit exercise.
Begin by working with your dog on her familiar obedience exercises. Once you have her attention and focus, begin the new exercise of cueing her to come as she performs her stay. Be sure to offer the familiar visual cue of moving backwards, while leaning forward as you cue her to Come. As she's moving toward you, praise enthusiastically. When she arrives in front of you, stand upright and cue the sit. Be sure to mark the moment with a click and then a subsequent reward.
Practice cueing the come from a variety of locations around her. Never do so from just one area, such as when facing her. Your dog must learn to come on cue regardless of where you are located, and regardless of what's going on around her.
The Finish
The Finish is an exercise that puts your dog into Heel position when she's not already there. I use this cue to both achieve a correct heeling position and to return a dog back to paying attention. It is a great means of reducing the use of the lead as you move into off lead obedience work.
Here's some suggestions of when cueing the Finish might be appropriate:
Here's some suggestions of when cueing the Finish might be appropriate:
- If you are heeling and stop, with your dog continuing then stopping to sit in front of you - do a Finish.
- After a recall and you wish to move forward - do a Finish.
- You are attempting to heel with your dog, but she continues to forge ahead of you - do a moving Finish.
- You are a Duck or Dove Hunter and want for your dog to return to Heel position after a retrieve - do a Finish.
- You are hiking and see someone else approaching - do a Finish.
- Your dog is in a Stay and you want for her to catch up to you and remain at your side as you continue moving forward - do a Finish.
There are several ways to accomplish a Finish - to the Left and to the Right. Some dogs have preferences of which they would more easily learn. Many large dogs prefer to Finish to the right. While medium and small dogs prefer to Finish to the left. It is a good idea, however, for your dog to learn them both as there will be situations in which one, or the other, will be needed.
Finish to the Left:
Show your dog the left hand Target.
1) As you step back on your left leg, cue your dog with the verbal command, Heel (or whatever you wish to use). Lure your dog along your left side as your left leg moves back, one step. Keep your right leg in the same place and don't move your body position.
2) Once your dog is even with your left heel, lure her to move forward with your left leg as it attains the former position even with your right leg.
Your dog will naturally follow your target back, turn and move up along your left side. The moment she does so, cue her to sit.
Should your pup overshoot the proper heel position on your leg, do the Finish again. It never hurts to practice!
Step 1: Target and step back on your left leg as you give the cue.
Step 2 - Move your left leg backward as your dog follows the target and leg movement.
Step 3 - Bring your left leg forward as your dog follows up to your left side and sits.
Finish to the Right
While most dogs can easily learn to perform a Finish to the left, there are some who prefer the Finish to the right. If you plan on working with your dog in Rally Obedience, Agility, Therapy work, Free Style, or any number of K9 sports activities, it'll be a good idea to teach your dog to perform the Finish in both directions.
Also, keep in mind that if you intend to use the Finish in order to work with your dog Off Lead, the Finish to the right will be very helpful in redirecting your dog back into heel position when she moves ahead of you. With repeated Finishes to the right, your dog will quickly tire of doing circles around you and begin to focus more on attaining the appropriate position.
Keeping my previous paragraph in mind, there are several ways to work with your dog through the Finish to the right -
From a sit in front of you
While heeling and your dog moves in front of you as you walk
________________________________________________________________________________________________________________
From a sit in front of you:
1. As you tell your dog to Finish, lure her along your right side as you step backward one step with your right leg.
2. As she moves along your right side, following your right leg back, bring your right leg forward, use a lure with your left hand as you switch the leash into it, and coax her up along your left side.
3. Just before she arrives at your left side, cue her to Sit. If your timing of the cue was correct, she'll stop and sit in heel position at your left side. If your timing of the Sit cue wasn't great, and she sat in front of you, do the Finish to the right again.
From a moving heel:
1. When heeling, as your dog moves in front of you, suddenly stop and cue to Finish to the right.
2. Step back on your right leg as you cue the Finish with your right hand.
3. When your dog begins moving along your side, bring your right leg forward, switch the leash into your left hand, then continue moving forward in the heel.
The Stand
While the Stand exercise may not appear to be a necessary behavior to teach your dog, it actually is. Teaching your dog to stand still while being examined by his veterinarian, remain in place as you dry off his paws after returning from outside on a rainy day, during a bath, while putting on/off a coat, and many more reasons. The Stand is used in just about every performance venue as well as in everyday life with your dog.
There are two ways to teach your dog to Stand on cue and you'll have to figure out which through trial and error. The first is to do a Stand from a sit in heel position. The second is to stop your dog as you are moving forward in the heel.
Note: Dogs who may be super sensitive to being touched on the tummy might be good candidates for doing the Stand from a moving Heel.
Stand From a Sit
1. Lure your dog forward, just slightly with your right hand.
2. As he shifts his weight onto his front end, gently touch him under his tummy, at the base of his ribcage, lifting upward.
3. The moment he lifts his rear end, click and reward.
4. Request a longer and longer hold in the Stand with each rendition of the exercise.
2. As he shifts his weight onto his front end, gently touch him under his tummy, at the base of his ribcage, lifting upward.
3. The moment he lifts his rear end, click and reward.
4. Request a longer and longer hold in the Stand with each rendition of the exercise.
Stand From Moving Heel
If you're having difficulty teaching your dog the Stand from a Sit, then try doing so from the moving Heel.
1. As you stop, target your dog on your right hand.
2. When your dog has focused on your right hand, place your left hand on his left thigh.
3. Click and reward the moment your dog has stopped.
4. Gradually increase the time your dog must remain in the Stand position prior to marking the moment he's completed the exercise.
These are all of the basic obedience behaviors your dog should understand. This knowledge will create a great companion that will be a part of your family. Through the use of positive reinforcement training procedures, as outlined here, your dog will always be thrilled to do whatever you request.
When searching for a trainer or behaviorist to help you with your dog, be sure to ask about their training methods. Don't be fooled by someone who claims to be a 'balanced" trainer. This only means that they are willing to use aversive methods and tools whenever they deem necessary. A positive trainer, such as Miriam Fields and Shady Mountain Pet Retreat, NEVER deems it necessary to use aversive methods such as electronic collars, neck collars of any sort, hitting with hands or objects, or yelling at a canine student. Do your homework and you'll have a great companion.
When searching for a trainer or behaviorist to help you with your dog, be sure to ask about their training methods. Don't be fooled by someone who claims to be a 'balanced" trainer. This only means that they are willing to use aversive methods and tools whenever they deem necessary. A positive trainer, such as Miriam Fields and Shady Mountain Pet Retreat, NEVER deems it necessary to use aversive methods such as electronic collars, neck collars of any sort, hitting with hands or objects, or yelling at a canine student. Do your homework and you'll have a great companion.
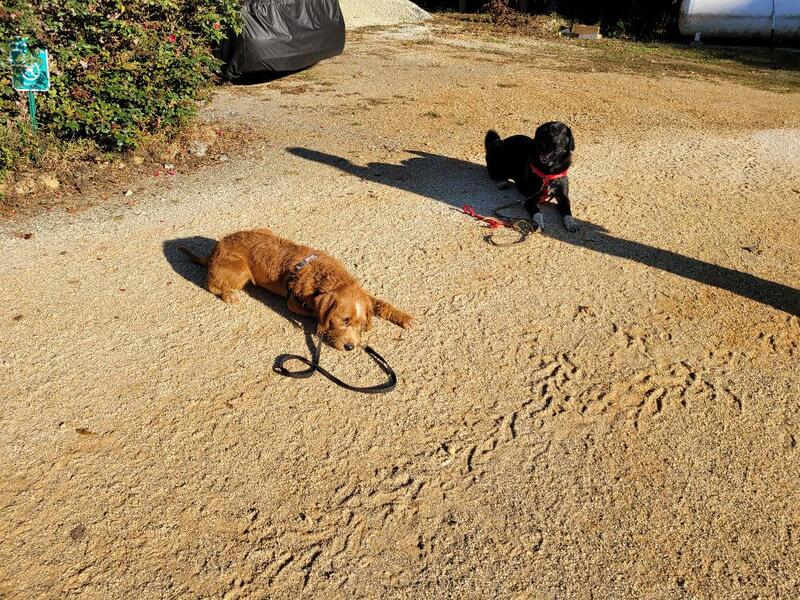
Working With Sibling Rivalry Issues
We occasionally work with sibling dogs who are being aggressive with each other. We begin by teaching both dogs their basic on and off leash obedience cues. Then we work on distraction proofing and finally we bring the dogs together to work at the same time - first with separate handlers, then in tandem.
